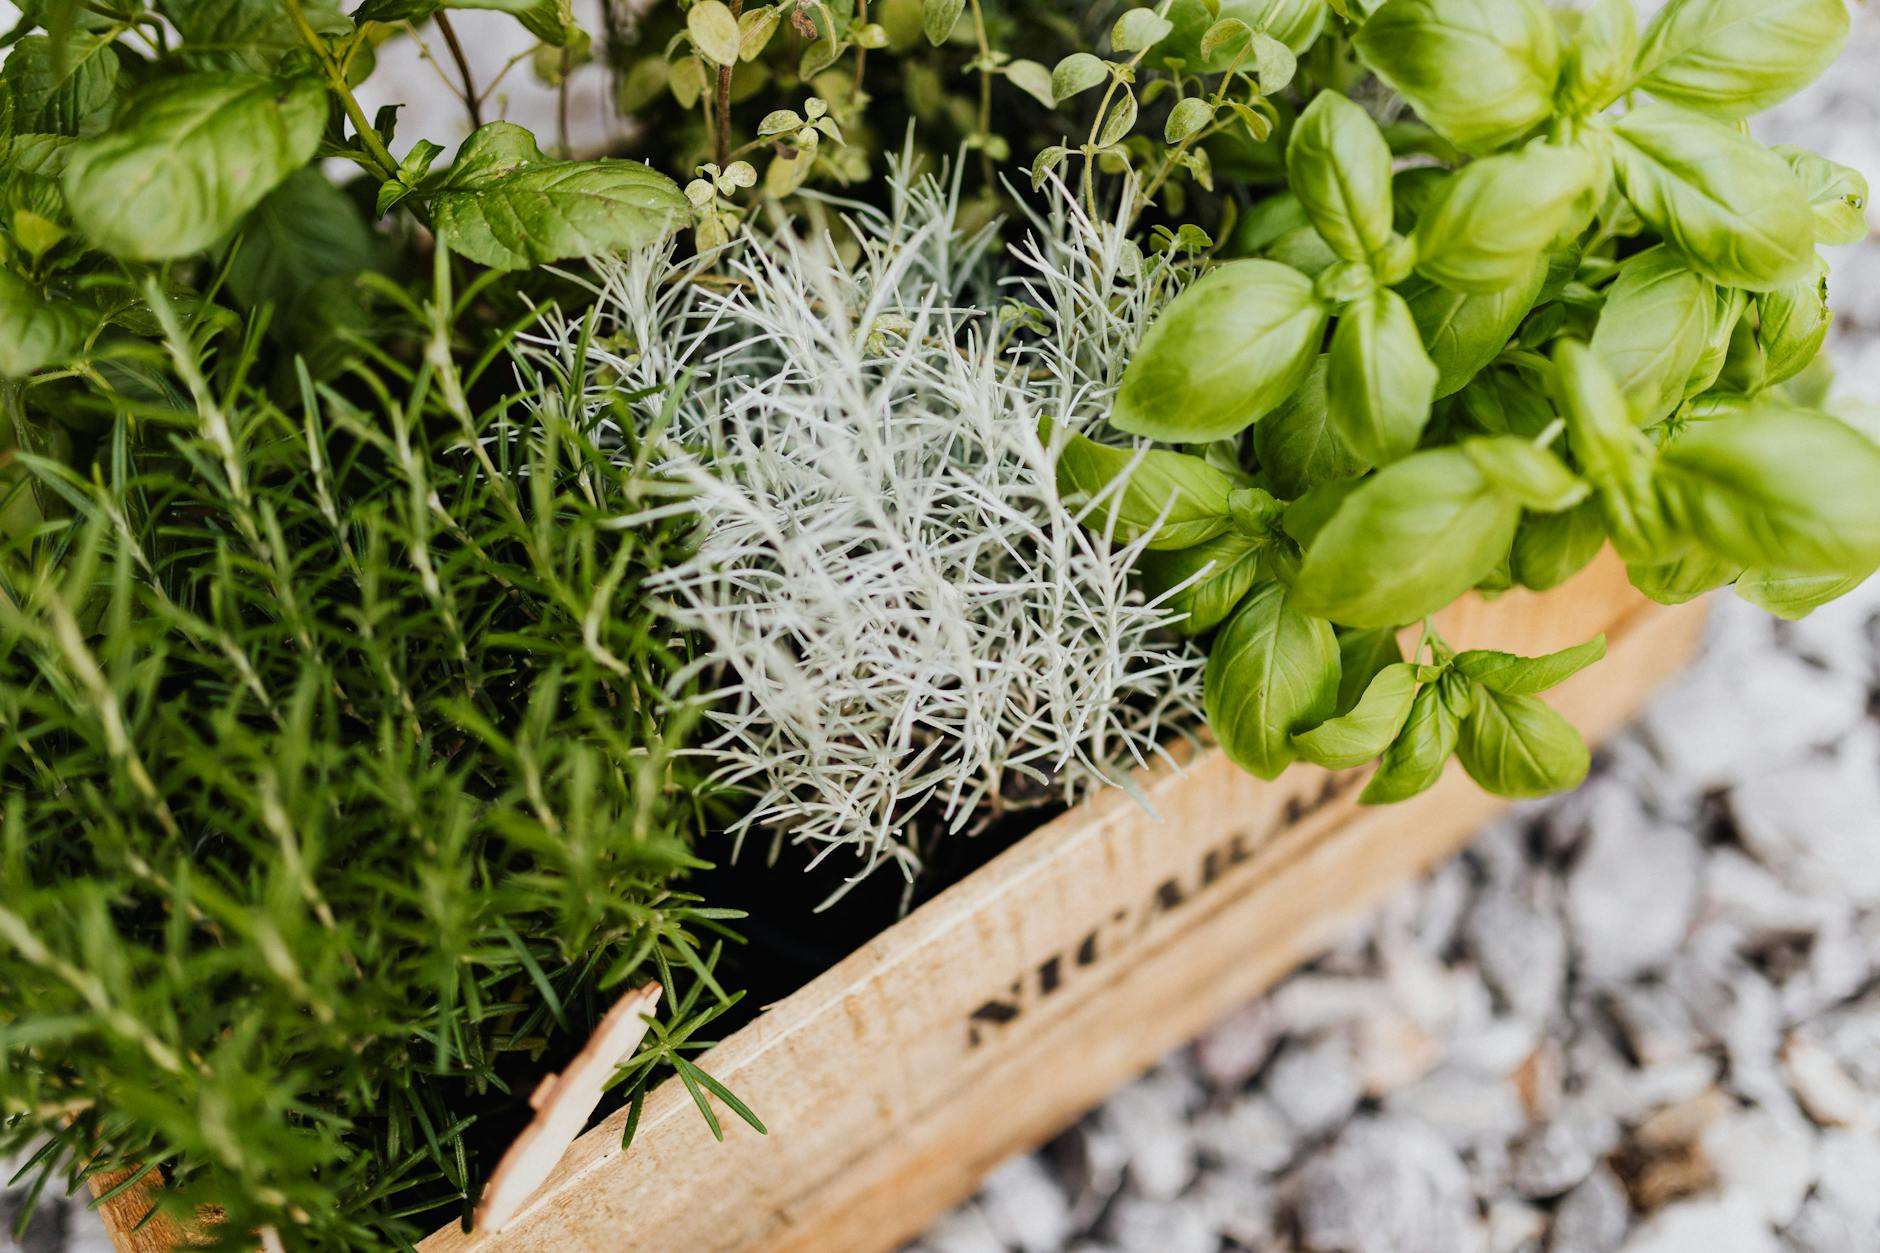
How to Grow Your Own Spices: A Beginner’s Guide
Have you ever savored a dish and wondered, “What’s that amazing flavor?” 🌶️ Chances are, it’s the spices that make all the difference. But why settle for store-bought when you can grow your own flavorful arsenal right at home?
Imagine stepping into your garden or onto your balcony, plucking fresh herbs and spices, and adding them to your culinary creations. Not only does this elevate your cooking game, but it also ensures you’re using the freshest, most potent ingredients possible. Plus, there’s something incredibly satisfying about nurturing your own plants from seed to harvest. 🌱👨🌾
In this beginner’s guide, we’ll walk you through everything you need to know about growing your own spices. From understanding the benefits and choosing the right varieties to mastering the growing process and incorporating your homegrown bounty into your meals, we’ve got you covered. Get ready to embark on a flavorful journey that will transform your cooking and gardening experience!
Understanding the Benefits of Home-Grown Spices
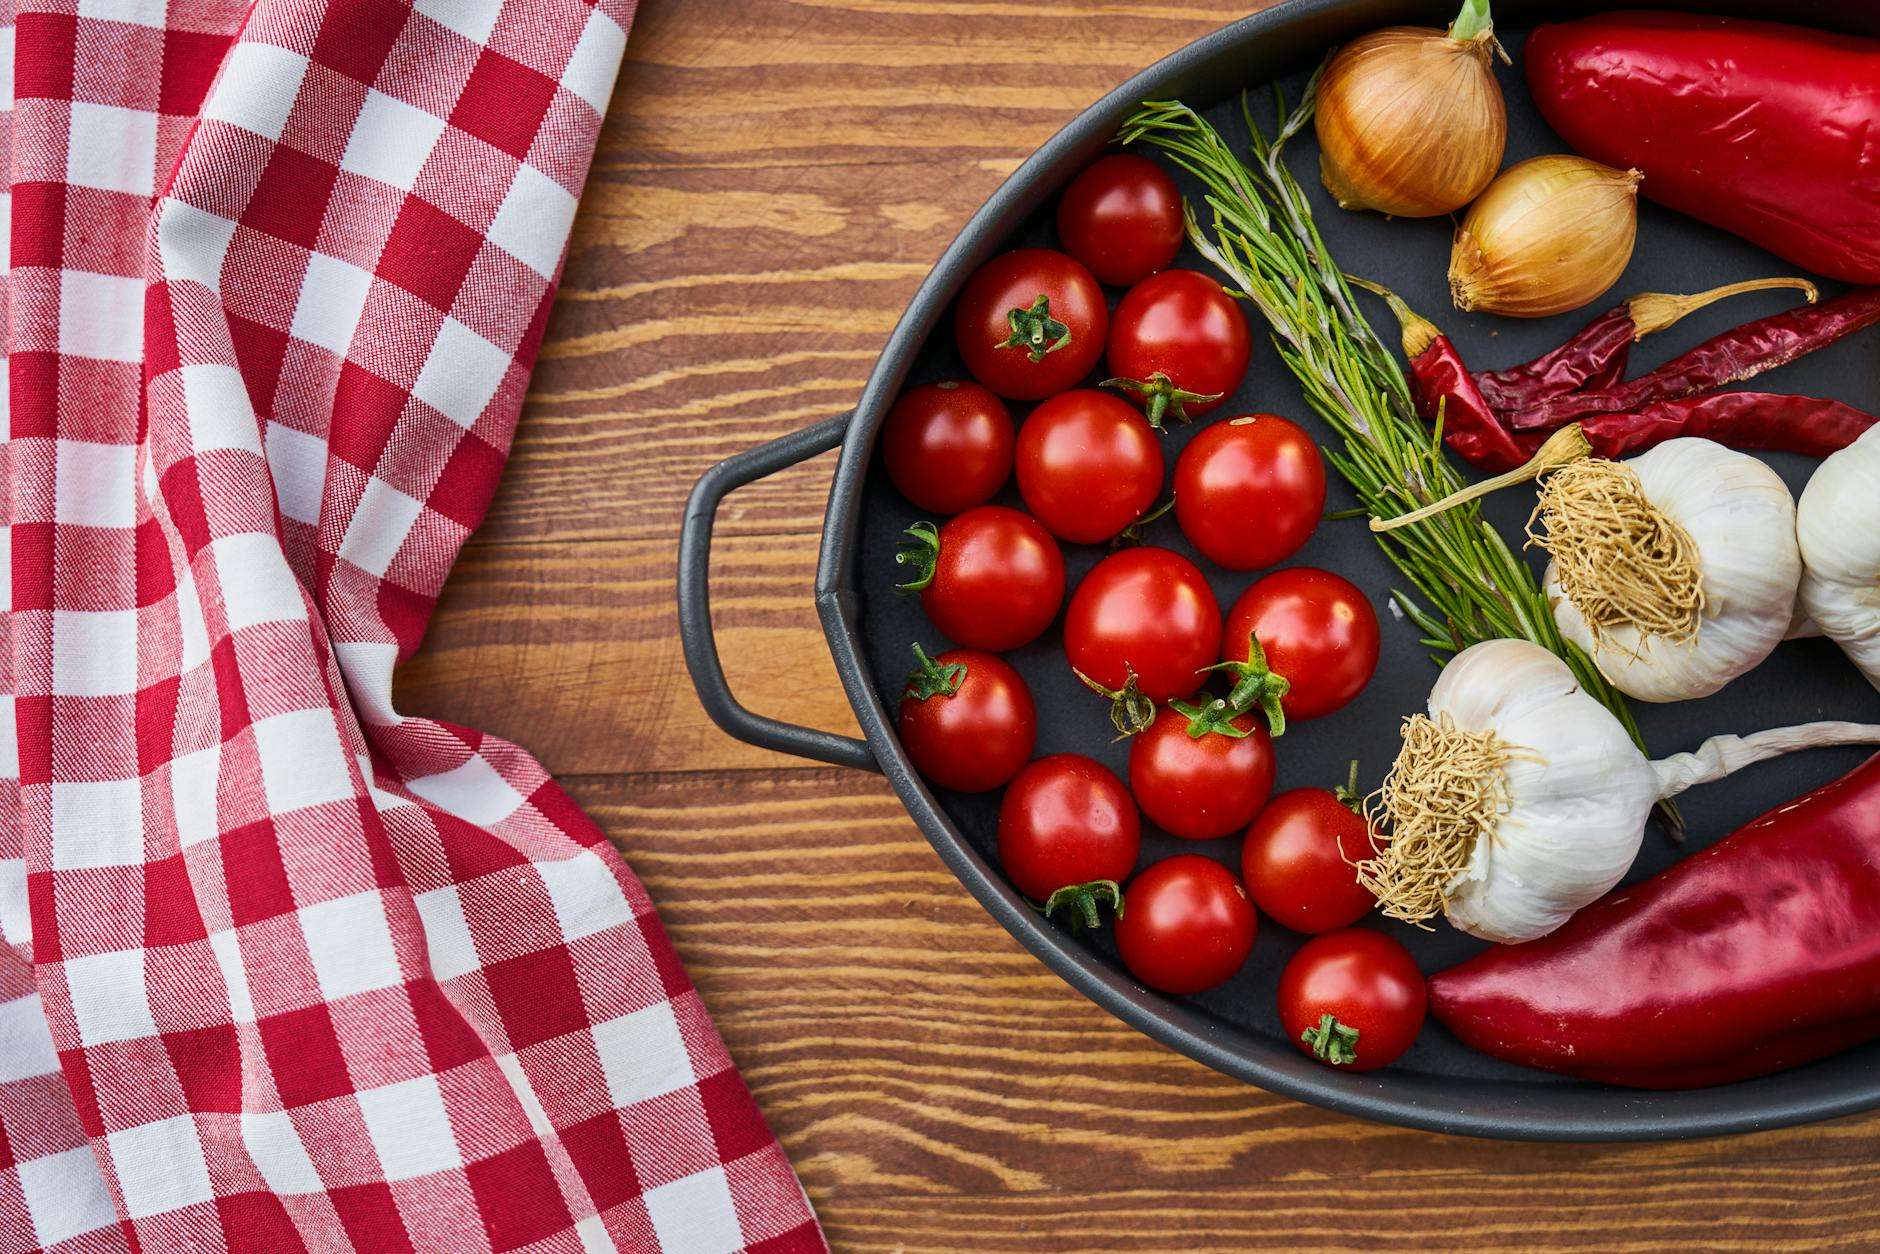
Enhanced Flavor in Your Cooking
Home-grown spices offer a burst of freshness and intensity that store-bought alternatives simply can’t match. When you cultivate your own spices, you have the advantage of harvesting them at their peak flavor, ensuring maximum potency in your dishes.
| Store-Bought Spices | Home-Grown Spices |
|---|---|
| Often processed | Fresh and vibrant |
| May lose potency | Peak flavor |
| Limited varieties | Unique selections |
Cost-Effective Alternative to Store-Bought Spices
Growing your own spices can significantly reduce your grocery bills over time. While there’s an initial investment in seeds or seedlings, the long-term savings are substantial:
- Reduced need for frequent spice purchases
- Ability to grow large quantities for less
- Potential for selling excess harvest
Control Over Pesticide Use
One of the most significant benefits of home-grown spices is the control you have over their cultivation process. You can choose to grow your spices organically, free from harmful pesticides and chemicals often used in commercial production.
Satisfaction of Self-Sufficiency
There’s an unmatched sense of accomplishment in using spices you’ve grown yourself. This self-sufficiency not only enhances your culinary experience but also connects you more deeply with your food. As we explore the world of home-grown spices, you’ll discover the joy of nurturing these plants from seed to harvest.
Choosing the Right Spices to Grow
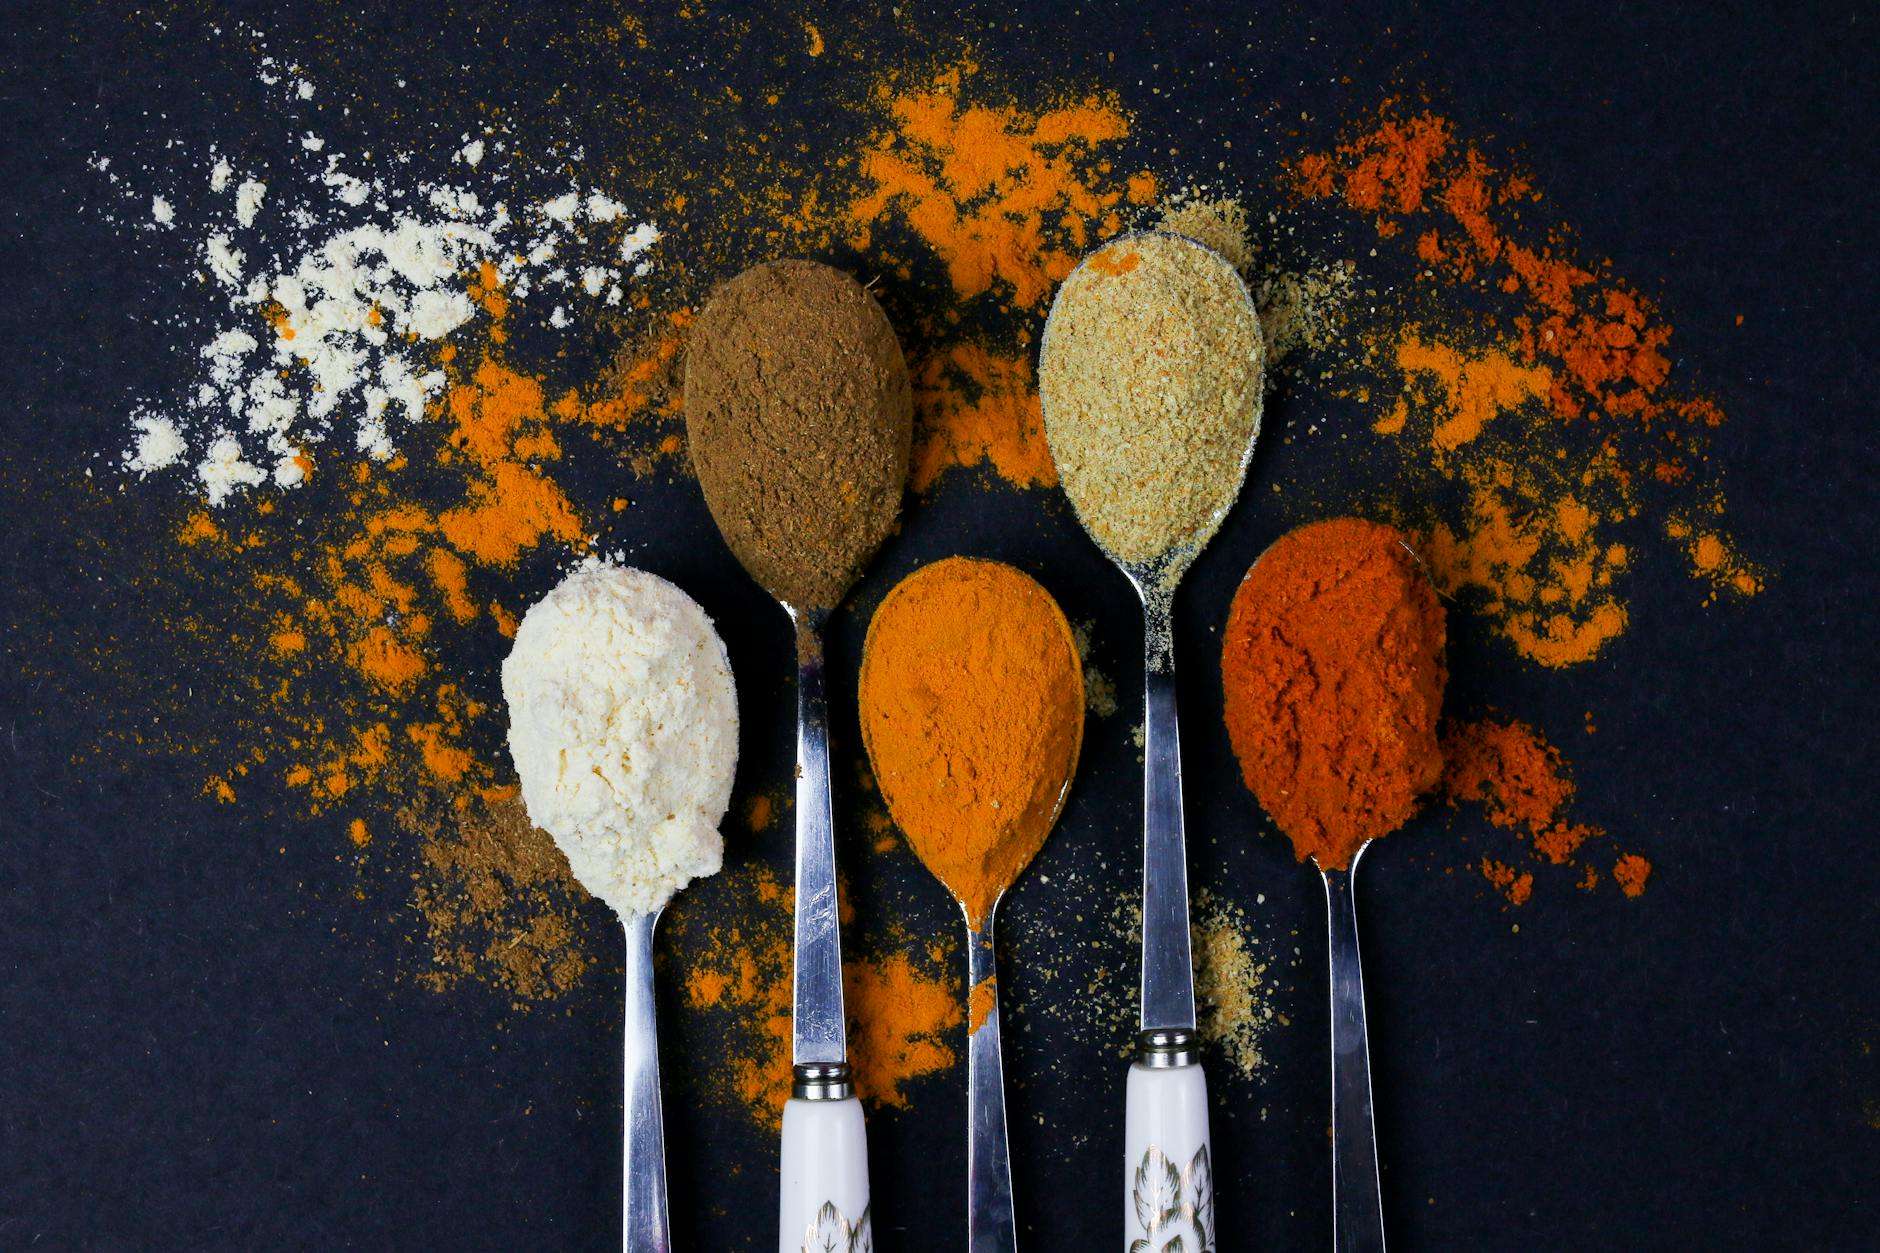
Easy-to-Grow Options for Beginners
For those just starting their spice-growing journey, it’s best to begin with hardy, low-maintenance options. Here are some beginner-friendly spices:
- Basil
- Cilantro
- Chives
- Mint
- Oregano
These herbs are not only easy to grow but also versatile in the kitchen, making them perfect for novice gardeners.
Climate Considerations
Different spices thrive in various climates. Consider your local weather patterns when selecting spices to grow:
| Climate Type | Suitable Spices |
|---|---|
| Tropical | Ginger, Turmeric, Lemongrass |
| Mediterranean | Rosemary, Thyme, Sage |
| Temperate | Parsley, Dill, Fennel |
Space Requirements
Space is a crucial factor in spice cultivation. Here’s a quick guide:
- Small spaces (windowsills, balconies): Chives, Thyme, Basil
- Medium spaces (small gardens): Rosemary, Sage, Oregano
- Larger areas: Fennel, Dill, Lemongrass
Popular Spice Choices and Their Uses
Some popular spices to grow at home include:
- Basil: Perfect for Italian dishes, pesto, and salads
- Cilantro: Essential for Mexican and Asian cuisines
- Rosemary: Ideal for roasted meats and Mediterranean recipes
- Thyme: Great for soups, stews, and poultry dishes
- Mint: Excellent for teas, cocktails, and desserts
By considering these factors, you can choose spices that will thrive in your specific conditions and complement your cooking style. Now that you’ve selected your spices, let’s move on to the essential tools and materials you’ll need for successful spice cultivation.
Essential Tools and Materials

Quality Soil and Fertilizers
When growing your own spices, the foundation of success lies in high-quality soil and fertilizers. Opt for well-draining potting mix enriched with organic matter. For most spices, a pH level between 6.0 and 7.0 is ideal. Supplement your soil with slow-release organic fertilizers to provide essential nutrients throughout the growing season.
| Soil Component | Purpose |
|---|---|
| Peat moss | Improves water retention |
| Perlite | Enhances drainage |
| Compost | Adds nutrients and improves structure |
| Vermiculite | Increases aeration and water holding capacity |
Containers and Pots
Choose containers that match the size and growth habits of your chosen spices:
- Small pots (4-6 inches): Ideal for herbs like thyme and oregano
- Medium pots (8-10 inches): Perfect for basil, cilantro, and chives
- Large pots (12+ inches): Suitable for larger plants like rosemary and bay laurel
Ensure all containers have drainage holes to prevent waterlogging.
Watering Equipment
Proper watering is crucial for healthy spice plants. Essential watering tools include:
- Watering can with a fine rose attachment
- Spray bottle for misting delicate seedlings
- Self-watering systems for convenience
- Moisture meter to monitor soil moisture levels
Harvesting Tools
Equip yourself with the right tools for a successful harvest:
- Sharp scissors or pruning shears for clean cuts
- Small baskets or containers for collecting harvested spices
- Drying racks or screens for air-drying herbs
- Dehydrator for faster drying (optional)
Now that we’ve covered the essential tools and materials, let’s move on to the step-by-step growing process to ensure your spice garden thrives.
Step-by-Step Growing Process
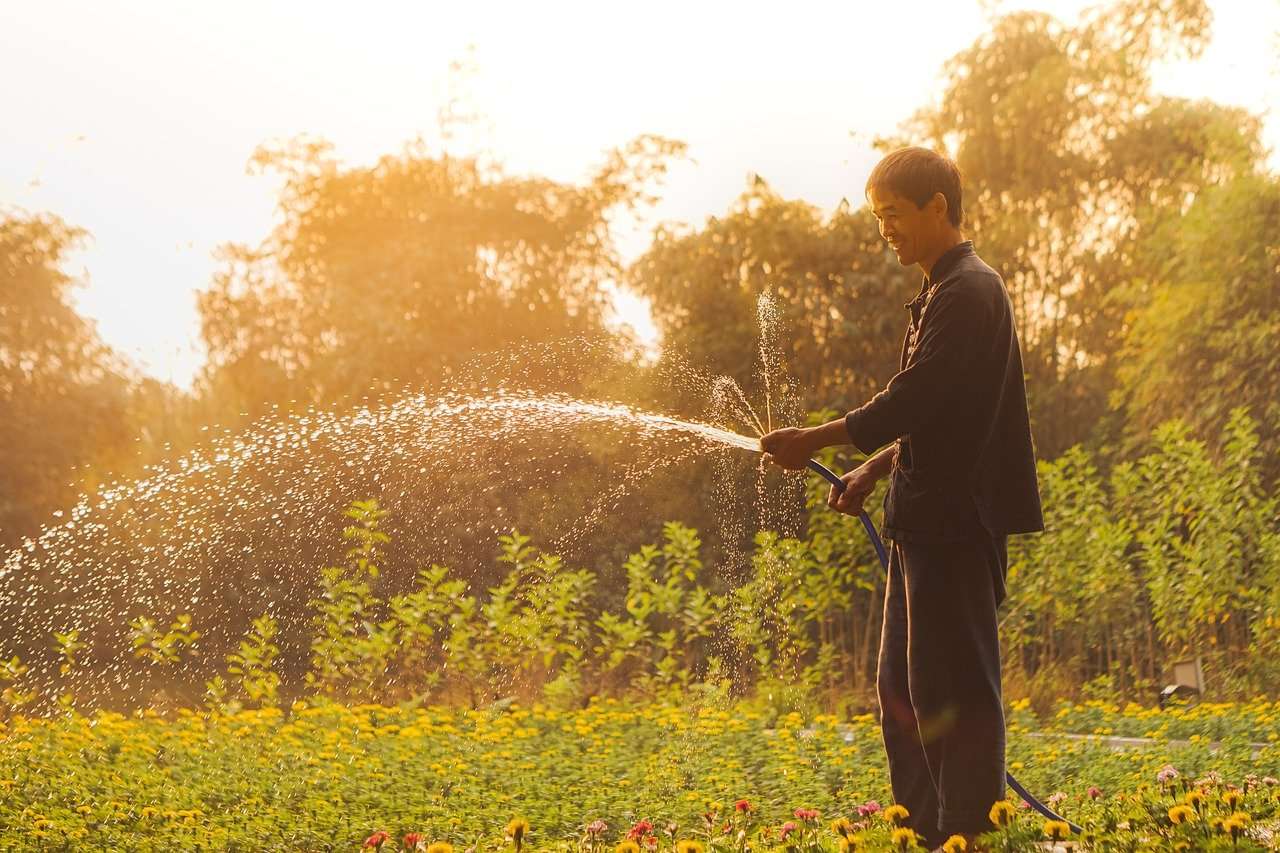
A. Preparing the Growing Area
Before planting your spices, it’s crucial to prepare the growing area properly. This step sets the foundation for healthy plant growth. Here’s what you need to do:
- Choose the right location:
- Select a spot with adequate sunlight (6-8 hours daily)
- Ensure good air circulation
- Protect from strong winds
- Prepare the soil:
- Test the soil pH (ideal range: 6.0-7.0)
- Amend the soil with organic matter
- Ensure proper drainage
| Soil Type | Amendments |
|---|---|
| Clay | Sand, compost |
| Sandy | Compost, peat moss |
| Loamy | Minimal amendments needed |
B. Planting Seeds or Seedlings
Once your growing area is ready, it’s time to plant your spices. Follow these steps:
- For seeds:
- Create shallow furrows in the soil
- Space seeds according to package instructions
- Cover lightly with soil and water gently
- For seedlings:
- Dig holes slightly larger than the root ball
- Place seedlings at the same depth as they were in their containers
- Backfill with soil and water thoroughly
C. Watering and Fertilizing Techniques
Proper watering and fertilizing are essential for healthy spice plants:
- Water deeply but less frequently to encourage deep root growth
- Use a balanced, organic fertilizer every 4-6 weeks
- Apply mulch to retain moisture and suppress weeds
D. Pest Management
Protect your spice plants from pests using these organic methods:
- Companion planting (e.g., marigolds to repel insects)
- Handpicking larger pests
- Using neem oil or insecticidal soap for persistent issues
E. Pruning and Maintenance
Regular pruning and maintenance will keep your spice plants healthy and productive:
- Pinch off flower buds to encourage leaf growth
- Remove dead or yellowing leaves
- Trim back overgrown plants to maintain shape and size
With these steps, you’ll be well on your way to growing healthy, flavorful spices at home. As your plants mature, you’ll soon be ready to move on to the exciting process of harvesting your homegrown spices.
Harvesting Your Homegrown Spices
Identifying the Right Time to Harvest
Knowing when to harvest your homegrown spices is crucial for optimal flavor and potency. Here are some key indicators to look out for:
| Spice | Harvest Indicators |
|---|---|
| Basil | Before flowering, when leaves are full-sized |
| Cilantro | When leaves are 4-6 inches long |
| Rosemary | After new growth has matured |
| Thyme | Just before flowering |
| Sage | When leaves are full-sized, before flowering |
Proper Harvesting Techniques
To ensure the best quality and longevity of your spices, follow these harvesting techniques:
- Use clean, sharp scissors or pruning shears
- Cut stems just above a leaf intersection
- Harvest in the morning after dew has dried
- Avoid harvesting more than 1/3 of the plant at once
- For root spices (e.g., ginger), carefully dig around the plant and lift
Cleaning and Sorting
After harvesting, it’s essential to clean and sort your spices properly:
- Gently rinse herbs under cool water
- Pat dry with paper towels or use a salad spinner
- Remove any damaged or discolored leaves
- Group similar herbs together for easier processing
- For root spices, brush off excess soil and rinse thoroughly
Now that you’ve successfully harvested, cleaned, and sorted your homegrown spices, you’re ready to move on to the crucial step of preserving and storing them to maintain their flavor and freshness.
Preserving and Storing Your Spices

Drying Methods
When it comes to preserving your homegrown spices, proper drying is crucial. There are several effective methods to choose from:
- Air drying: Ideal for herbs and small spices
- Oven drying: Perfect for larger spices or humid climates
- Dehydrator: Offers consistent results for all types of spices
Here’s a comparison of these methods:
| Method | Pros | Cons |
|---|---|---|
| Air drying | Low cost, energy-efficient | Slow process, weather-dependent |
| Oven drying | Quick, controlled environment | Energy-intensive, requires monitoring |
| Dehydrator | Consistent results, easy to use | Initial investment, takes up space |
Grinding and Processing
Once your spices are thoroughly dried, it’s time to process them. Grinding your spices just before use ensures maximum flavor and aroma. Consider these options:
- Mortar and pestle: Traditional method, great for small batches
- Electric spice grinder: Quick and efficient for larger quantities
- Coffee grinder: Versatile option for both spices and coffee
Storage Containers and Conditions
Proper storage is key to maintaining the quality of your homegrown spices. Choose airtight containers made of glass or ceramic to protect against moisture and light. Keep your spices in a cool, dark place away from direct sunlight and heat sources.
Shelf Life Expectations
The shelf life of your homegrown spices varies depending on the type and storage conditions. Generally, whole spices last longer than ground ones. Here’s a quick guide:
- Whole spices: 1-3 years
- Ground spices: 6-12 months
- Leafy herbs: 1-2 years
Remember to label your containers with the date of harvest or processing. Regularly check your spices for freshness by crushing a small amount and assessing the aroma. With proper preservation and storage, you’ll enjoy your homegrown spices for months to come.
Incorporating Home-Grown Spices into Your Cooking

Experimenting with Fresh vs. Dried Spices
Fresh and dried spices can significantly impact the flavor profile of your dishes. Here’s a comparison to help you decide when to use each:
| Aspect | Fresh Spices | Dried Spices |
|---|---|---|
| Flavor | More vibrant, aromatic | Concentrated, intense |
| Shelf life | Short (1-2 weeks) | Long (6-12 months) |
| Usage amount | More quantity needed | Less quantity required |
| Best for | Garnishes, last-minute additions | Long-cooking dishes, marinades |
Try using fresh basil in a Caprese salad or dried oregano in a slow-cooked tomato sauce to experience the difference.
Adjusting Recipes for Homegrown Flavors
When using homegrown spices, you may need to adjust your recipes:
- Start with less: Homegrown spices are often more potent, so use about half the amount called for in recipes.
- Taste as you go: Add spices gradually and taste frequently to achieve the desired flavor.
- Consider cooking time: Add delicate homegrown herbs towards the end of cooking to preserve their flavors.
Creating Unique Spice Blends
Experiment with your homegrown spices to create custom blends:
- Mediterranean blend: Mix dried basil, oregano, and thyme
- Curry powder: Combine turmeric, cumin, coriander, and ginger
- Herbes de Provence: Blend lavender, thyme, basil, and rosemary
Start with equal parts of each spice and adjust to your taste preferences. These blends can elevate simple dishes like roasted vegetables or grilled meats, showcasing the unique flavors of your homegrown spices.
Growing your own spices is a rewarding and flavorful journey that begins with understanding the benefits, selecting the right spices, and gathering essential tools. By following the step-by-step growing process, you’ll soon be harvesting, preserving, and storing your very own homegrown spices. This hands-on approach not only ensures fresher, more potent flavors but also provides a deeper connection to the food you prepare.
As you incorporate these home-grown spices into your cooking, you’ll discover a new level of satisfaction and culinary creativity. Whether you’re a seasoned gardener or a beginner, cultivating your own spices is an accessible and enjoyable way to enhance your meals and your gardening experience. Start small, experiment with different varieties, and soon you’ll be savoring the fruits of your labor in every dish you create.




Add a comment